
OSX Lion (10.7) now includes many extra high quality voices. These are not installed by default so you will need to install them manually using the following steps.
System Preferences
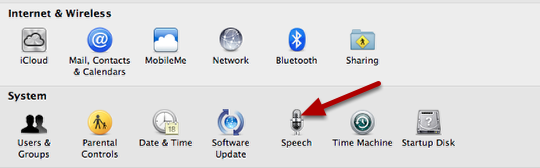
Open System Preferences and choose the Speech option under the System group.
Speech Panel
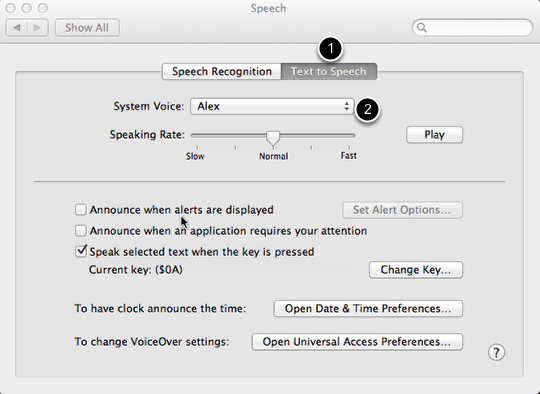
In the speech panel choose the Text to Speech Tab (1.) along the top of the dialog and then choose System Voice (2.)
Customize the Available Voices
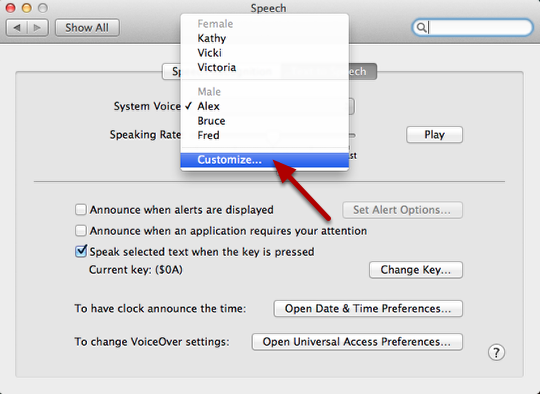
In the pop up menu that appears choose Customize…
Select the Voices
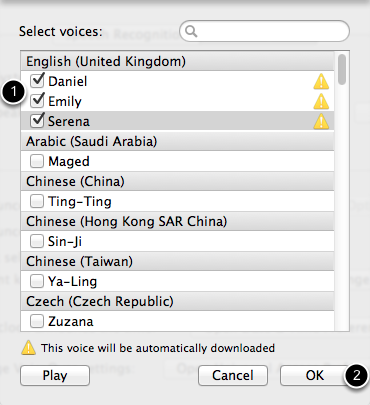
In the dialog select the voices that you would like to install (1.). The most popular UK English ones such as Daniel and Emily plus a whole host of international voices are all available here.
Once selected click on the OK button (2.).
Confirm and Download
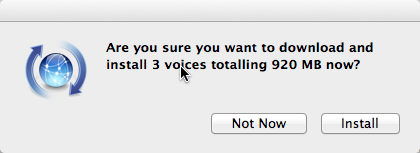
Now confirm the installation of the voices by clicking the Install button. An internet connection is required at this stage.
Select the New Voices
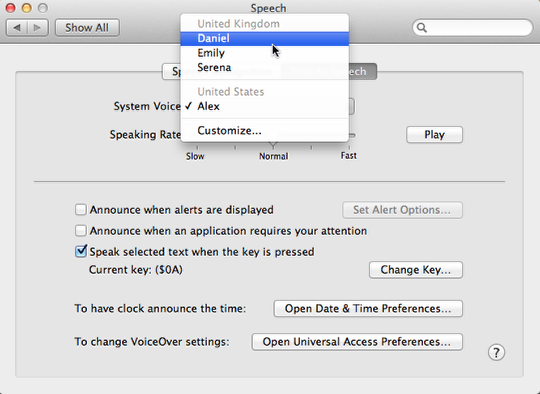
You will now find the new voices in the System Voice drop down menu.